 Go to Makerobos
Tailor multiple choices for users, assign specific conversational blocks and save the input in the form of attribute.
By using Quick Reply, you’re pausing the conversational flow until the user picks an option. You can route the conversation as per user input and save the user preference as an attribute. This card can be helpful for logical branching of conversational flow or segmentation of users.
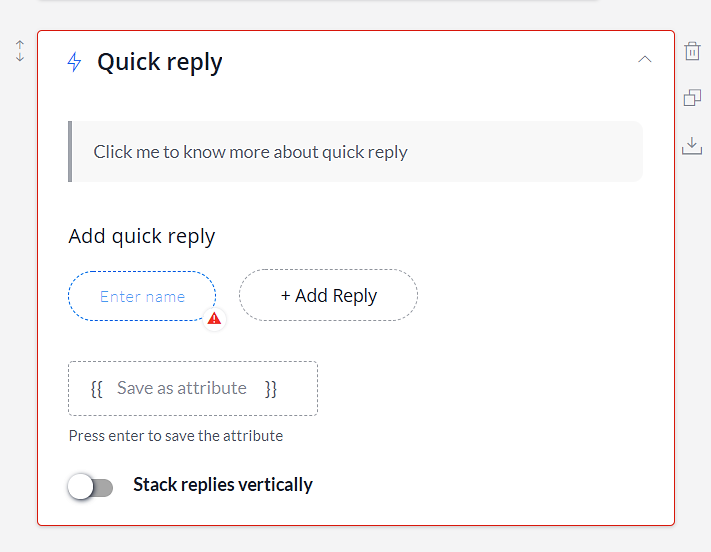
Understanding Quick Reply Card:
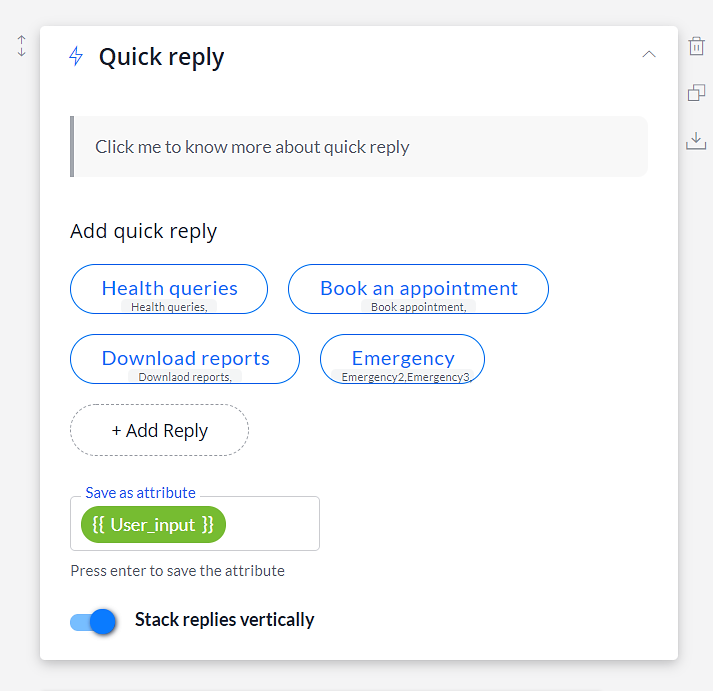
- Add quick reply: Enter the name of the buttons that you wanted to display. You can choose to assign a specific conversational block to each button. When a user clicks on a button then the conversation will take place as per the assigned block.
- Save as attribute: Save the user input as an attribute. This can be useful to analyze what most website visitors prefer. Also, by storing the user input, you can call it whenever needed in the conversational flow or send the details to the concerned team.
- Stack replies vertically: This function allows you to display the quick replies in the upright position.
- Enable Instinct AI: Allow user input to process via Instinct AI. You can choose to reply to users with a predefined message or route the conversational flow as per the assigned block(s).
Note: A maximum of Nine (9) quick replies can be added.
How Does A Quick Reply Card Works?
This card is similar to the multiple selection card, but it serves different functionality. By placing a Quick Reply card in the conversational flow, you can simplify the conversation for the website visitors. For instance, you can select to enter the core services of your business or popular products, and let users pick one of them.
Tailor special conversation with the visitors as per their input by assigning specific conversational blocks in the buttons. When a user will select a particular button then the conversation will take place as defined in the block. You can choose to stack the quick replies vertically or horizontally.
Frontman conversation:
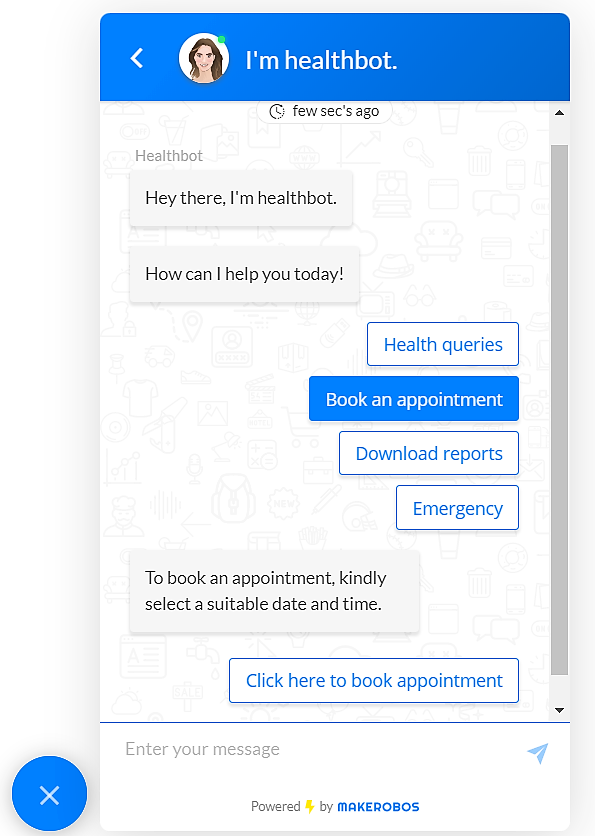
Here, the user input Book an appointment will be saved into the {{User_input}} attribute. Then a user has to pick a suitable date and time using the Date picker card.
Makerobos Help Center
