 Go to Makerobos
Installing Frontman on your website is super easy. Just follow the steps below
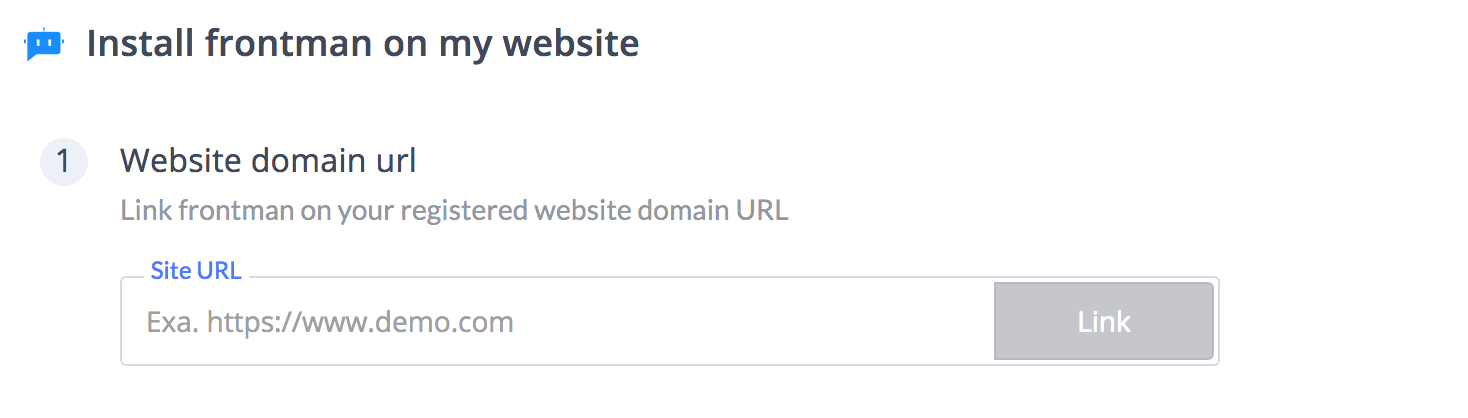
Step 1: (Website domain URL)
Enter website domain URL
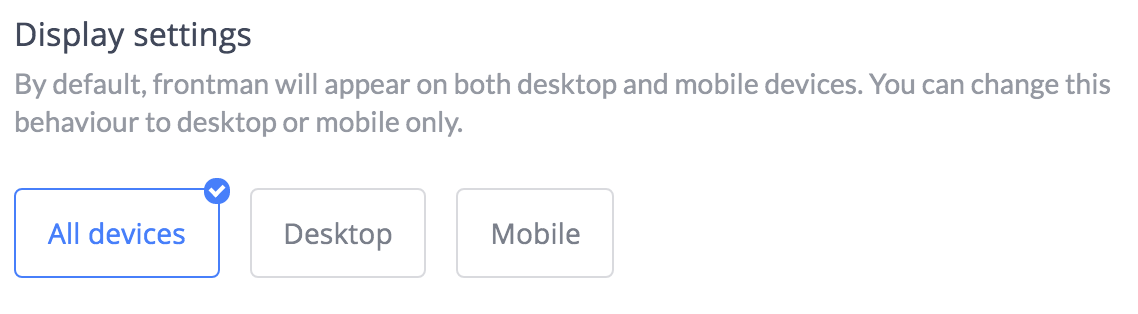
Step 2: (Display settings)
Set display settings. By default, Frontman will appear on both desktop and mobile devices. You can change this behaviour to desktop or mobile-only.
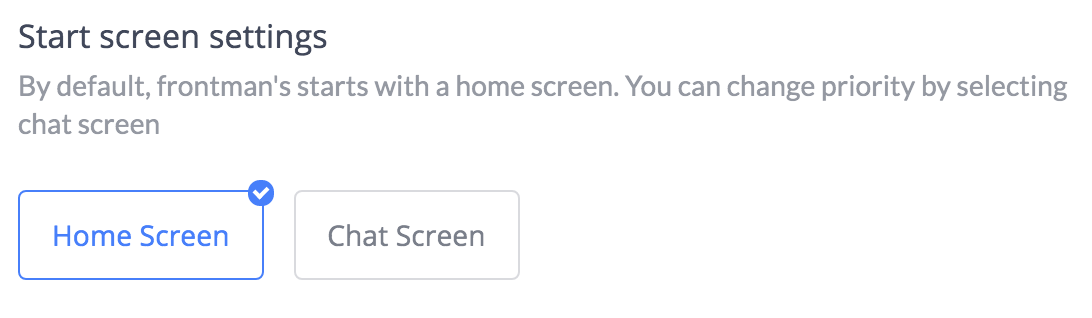
Step 3: (Start screen settings)
By default, Frontman starts with a home screen. You can change priority by selecting the chat screen here.
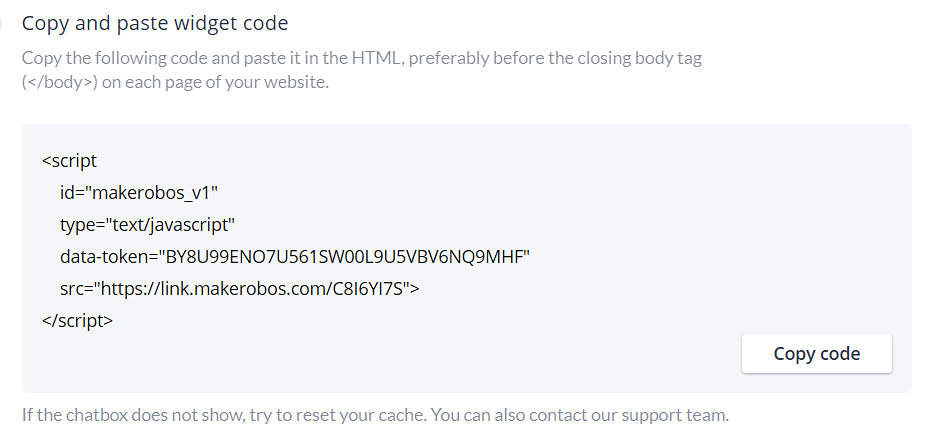
Step 4: (Copy and paste widget code)
Copy the generated code and paste it in the HTML, preferably before the closing body tag (</body>) on the index page of your website.

Step 5 (Send custom user attribute to frontman)
If you want to send custom attribute for your frontman to listen then add custom attributes and generate the code. Copy the generated code and paste it before the closing body tag (</body>) right after your widget code on the index page of your website.
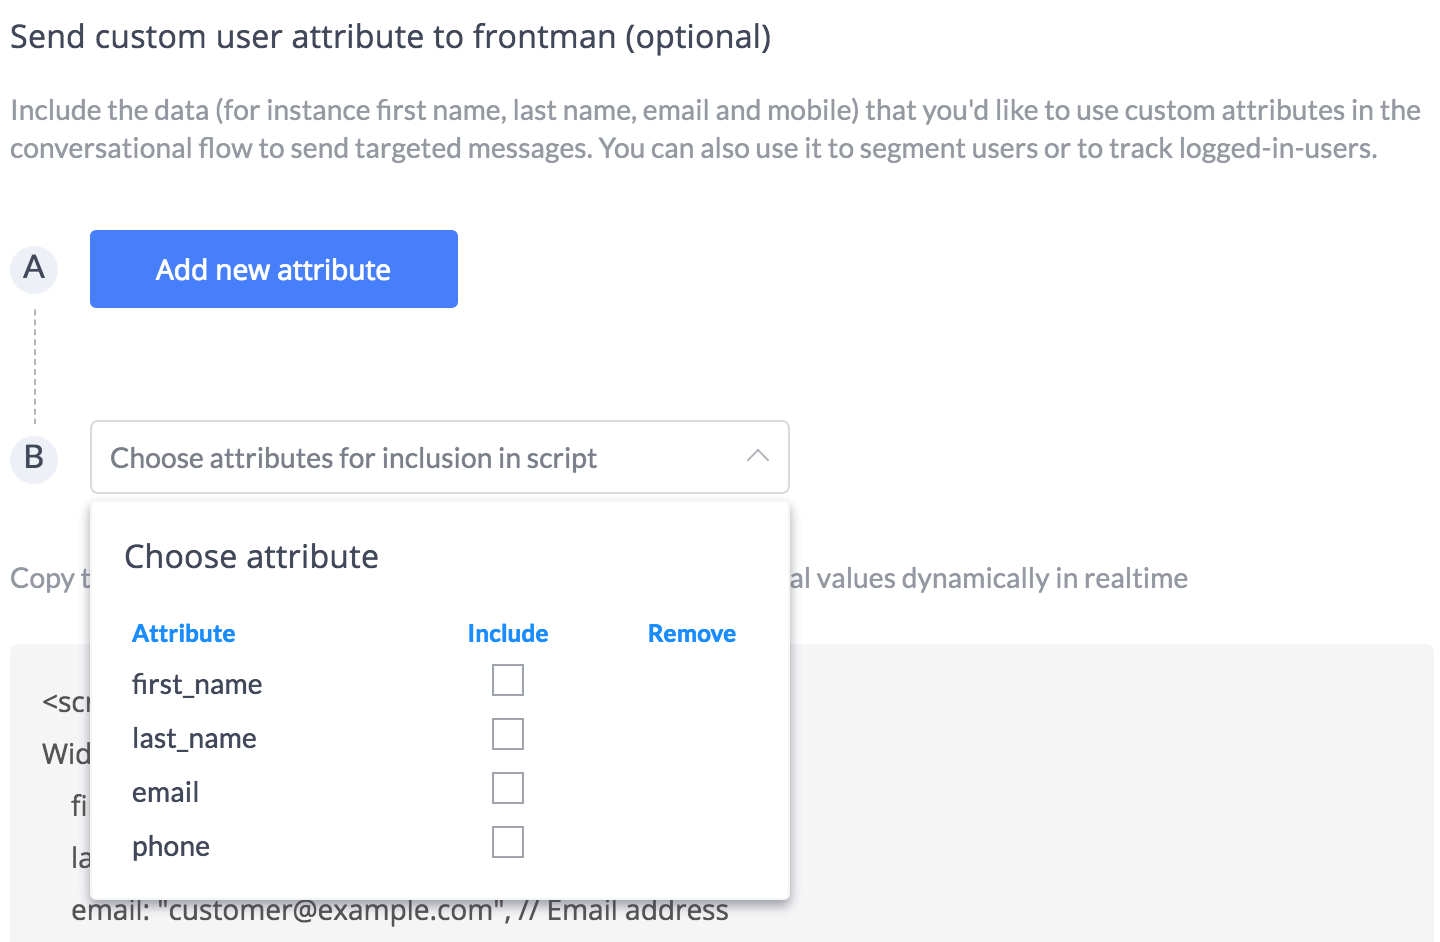
Required order of placement: Widget code followed by custom attribute code
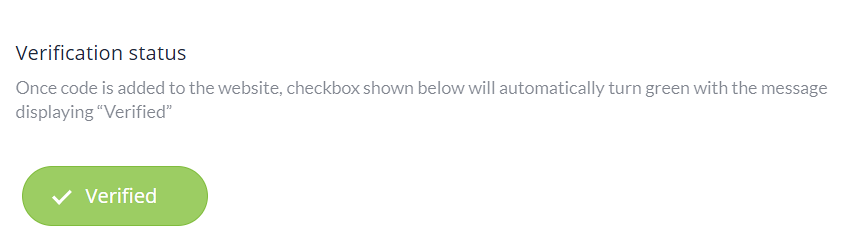
Step 6: (Verification status)
Once the code is added to the website, the checkbox shown below will automatically turn green with the message displaying “Verified” after refreshing the page.
Anytime your Frontman can be turned off on your website. Just toggle the switch and your Frontman snoozes until you turn it on. You should hibernate Frontman while tailoring new conversational flow, or while adding some functionality into the same conversational flow. So that visitors can continue with the pre-defined set of conversational flow and don’ t get affected by the on-going changes. Until you turn off the hibernation.
Makerobos Help Center
